
Deployment
02. Deploy to Cloudflare
One-click deployment: Dev Console creates D1/KV/R2, runs migrations, deploys Workers and frontend.
Last updated Mar 21, 2026
Path B (Dev Console) — Fully automated. If you prefer CLI, see Path A.
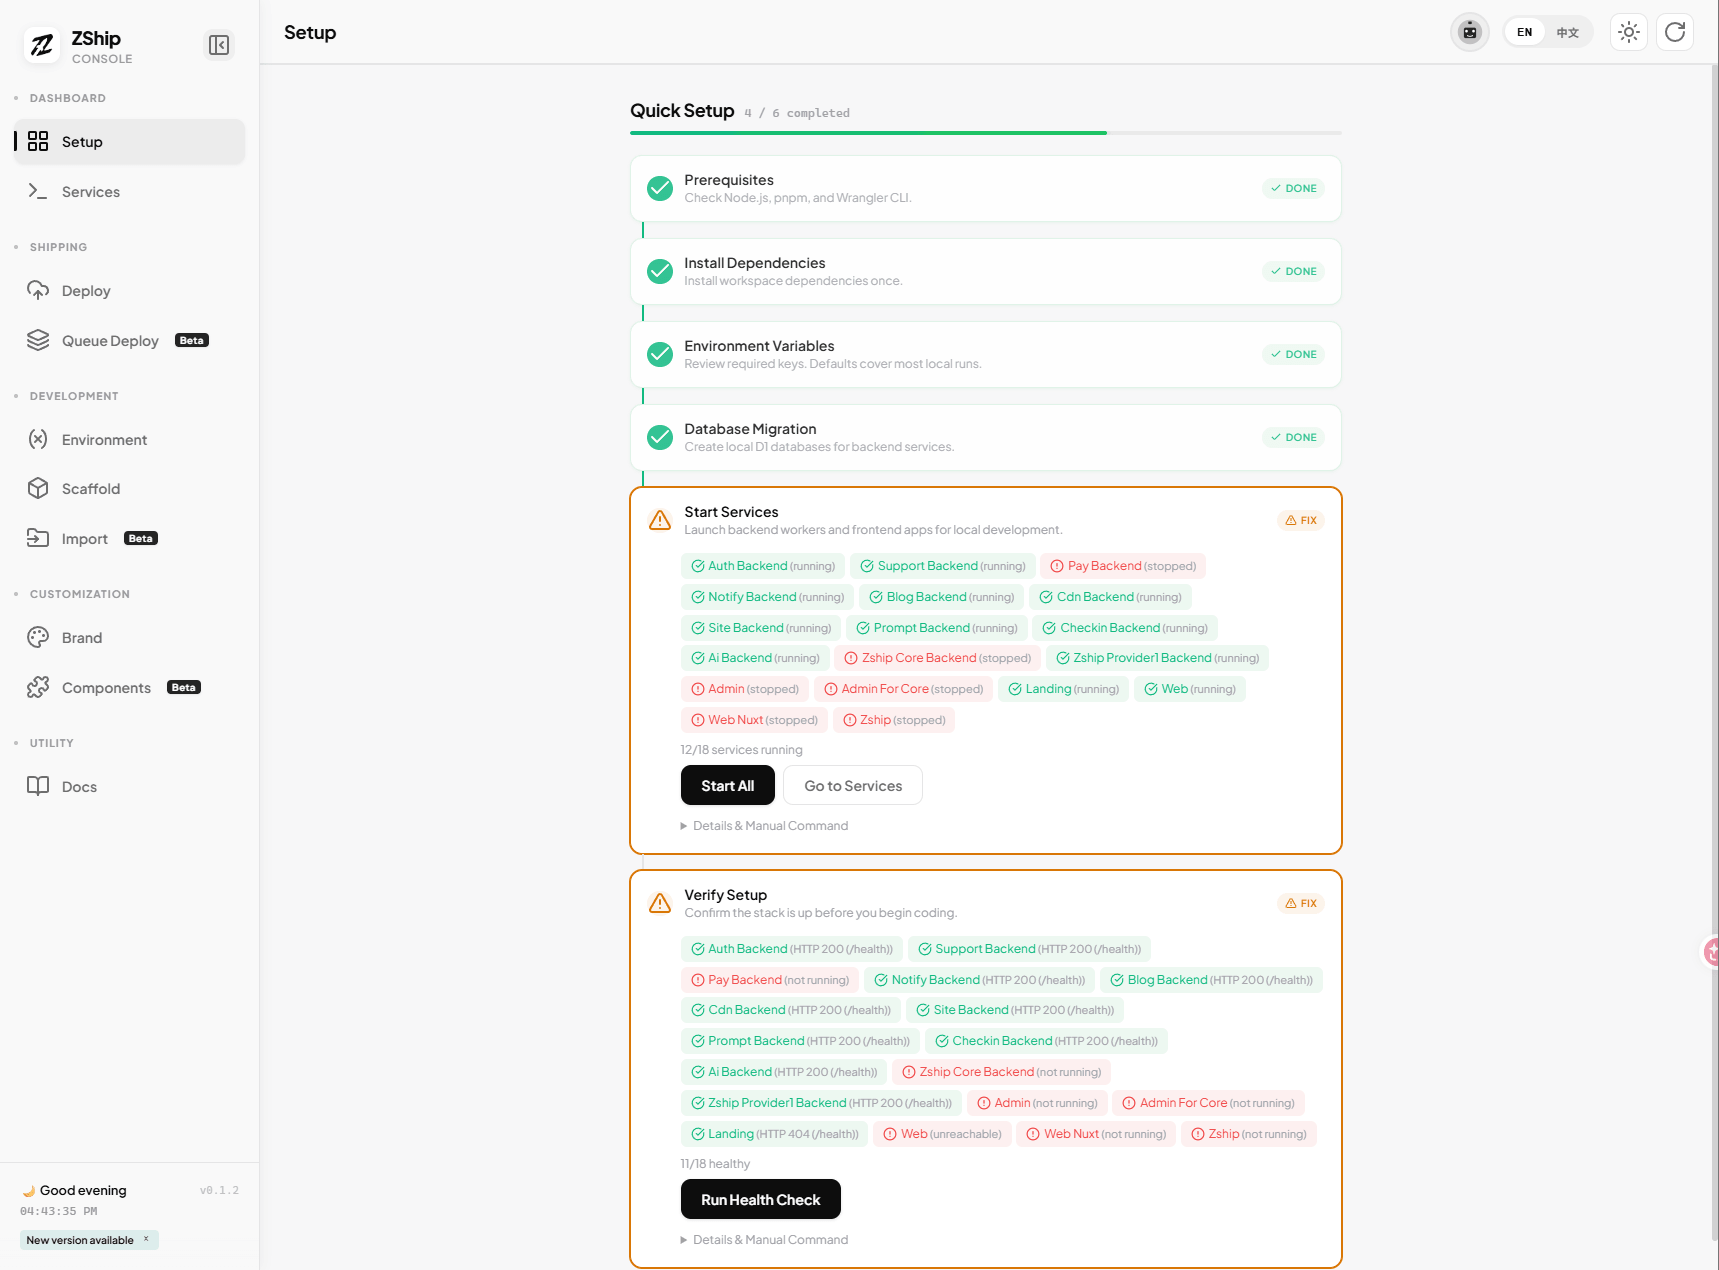
1. Open Dev Console → Deploy tab
- Run
pnpm dev:consolefrom the repo root. - In the Dev Console menu, switch to Deploy (云端部署).
- You will see the deployment pipeline with steps 0–6.
2. Click Run All
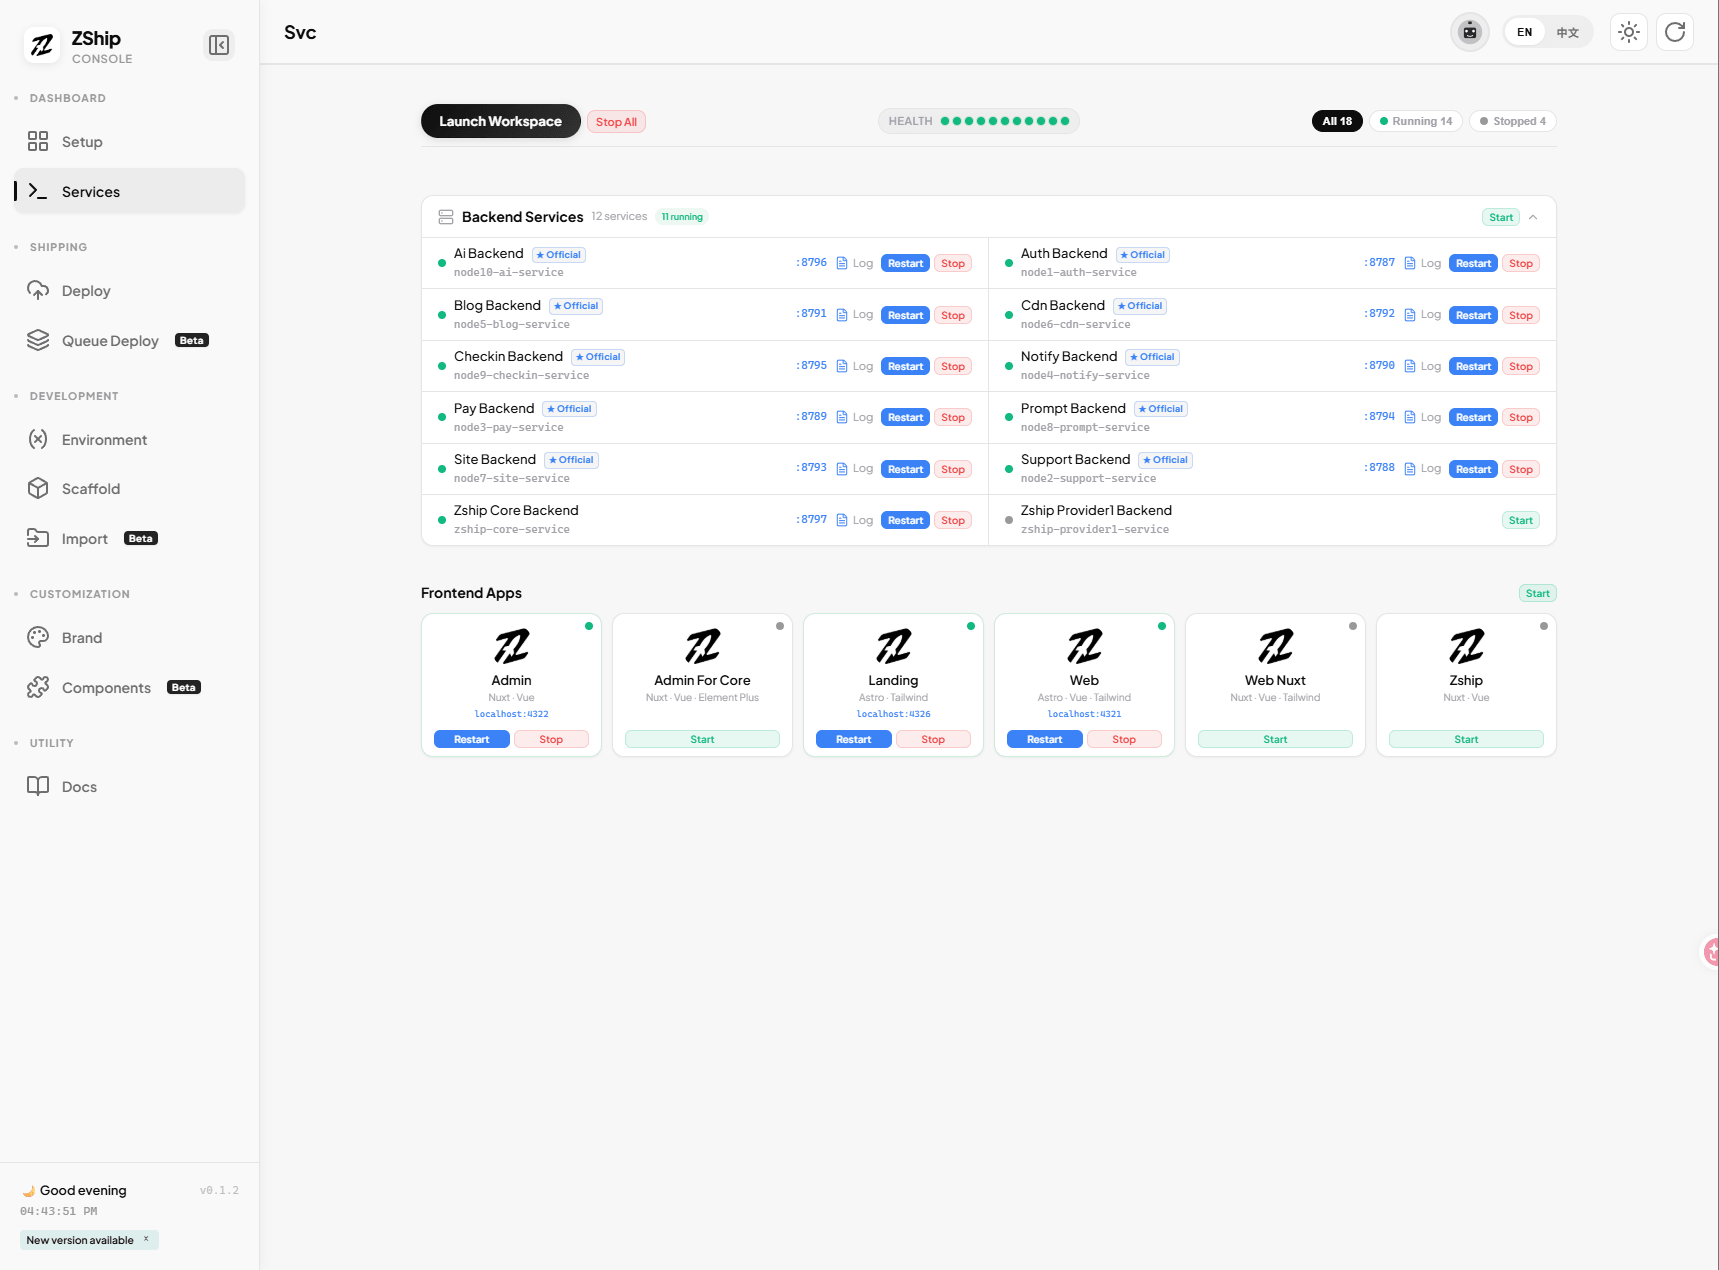
Click Run All (执行全部步骤).
The pipeline will automatically:
- Step 0 — pnpm install
- Step 1 — Create D1, KV, R2 resources
- Step 2 — Run D1 database migrations
- Step 3 — Deploy all 10 Workers to Cloudflare
- Step 5 — Deploy admin and web to Cloudflare Pages
No manual creation. No separate commands. One click does everything.
3. Fill secrets if needed
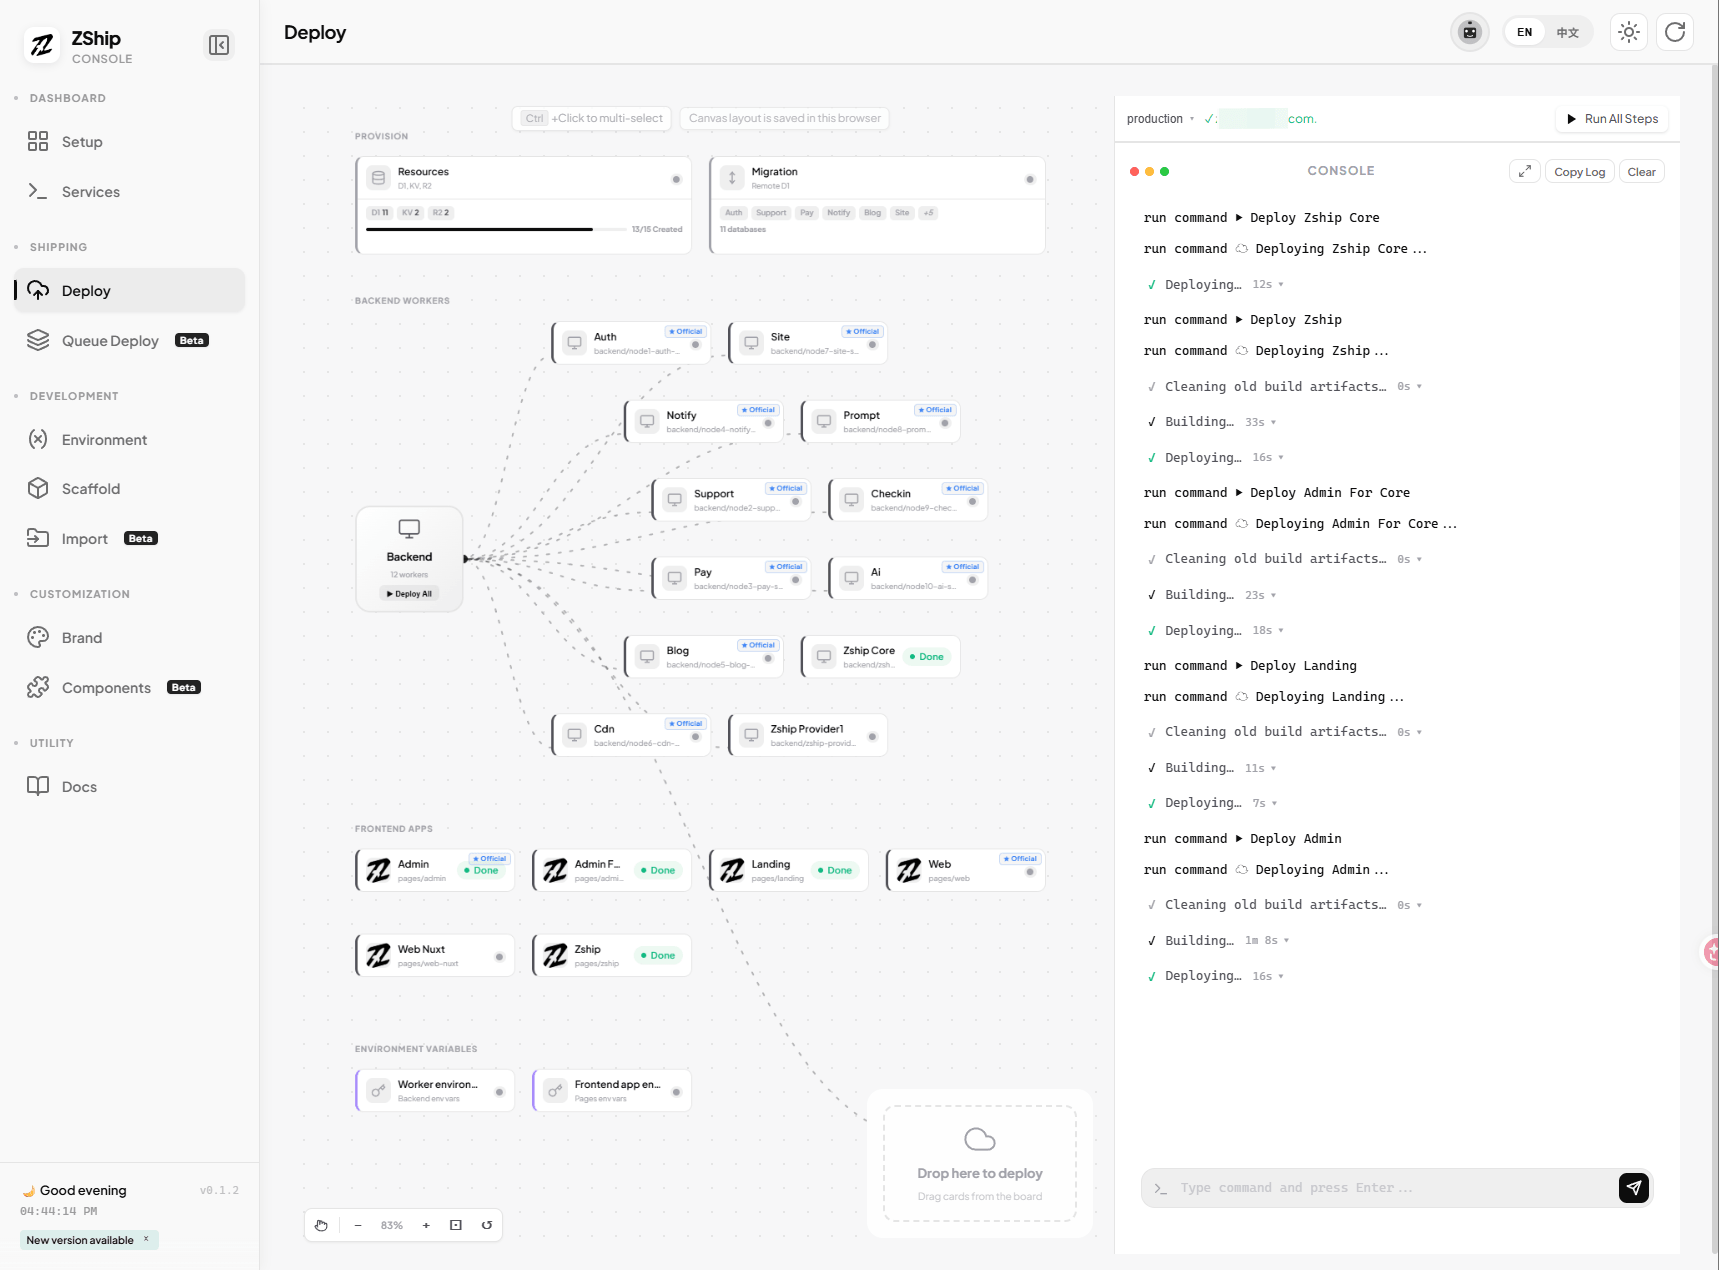
Before or after the first run, fill auth secrets in the Environment / Secrets section (e.g. JWT_SECRET, ADMIN_SECRET for node1-auth). If not filled, defaults are used (e.g. REPLACE_WITH_STRONG_JWT_SECRET). ADMIN_SECRET is the key for accessing the admin panel.
4. Next steps
Once deployment completes, proceed to 05. Domains & Environment and 06. Initialize System.